the summer session has concluded (it all went so fast). towards the end of the semester, i worked with students photographing a few of their projects. these are not all of the assignments that they did, but a selection of some outstanding ones.
2d design
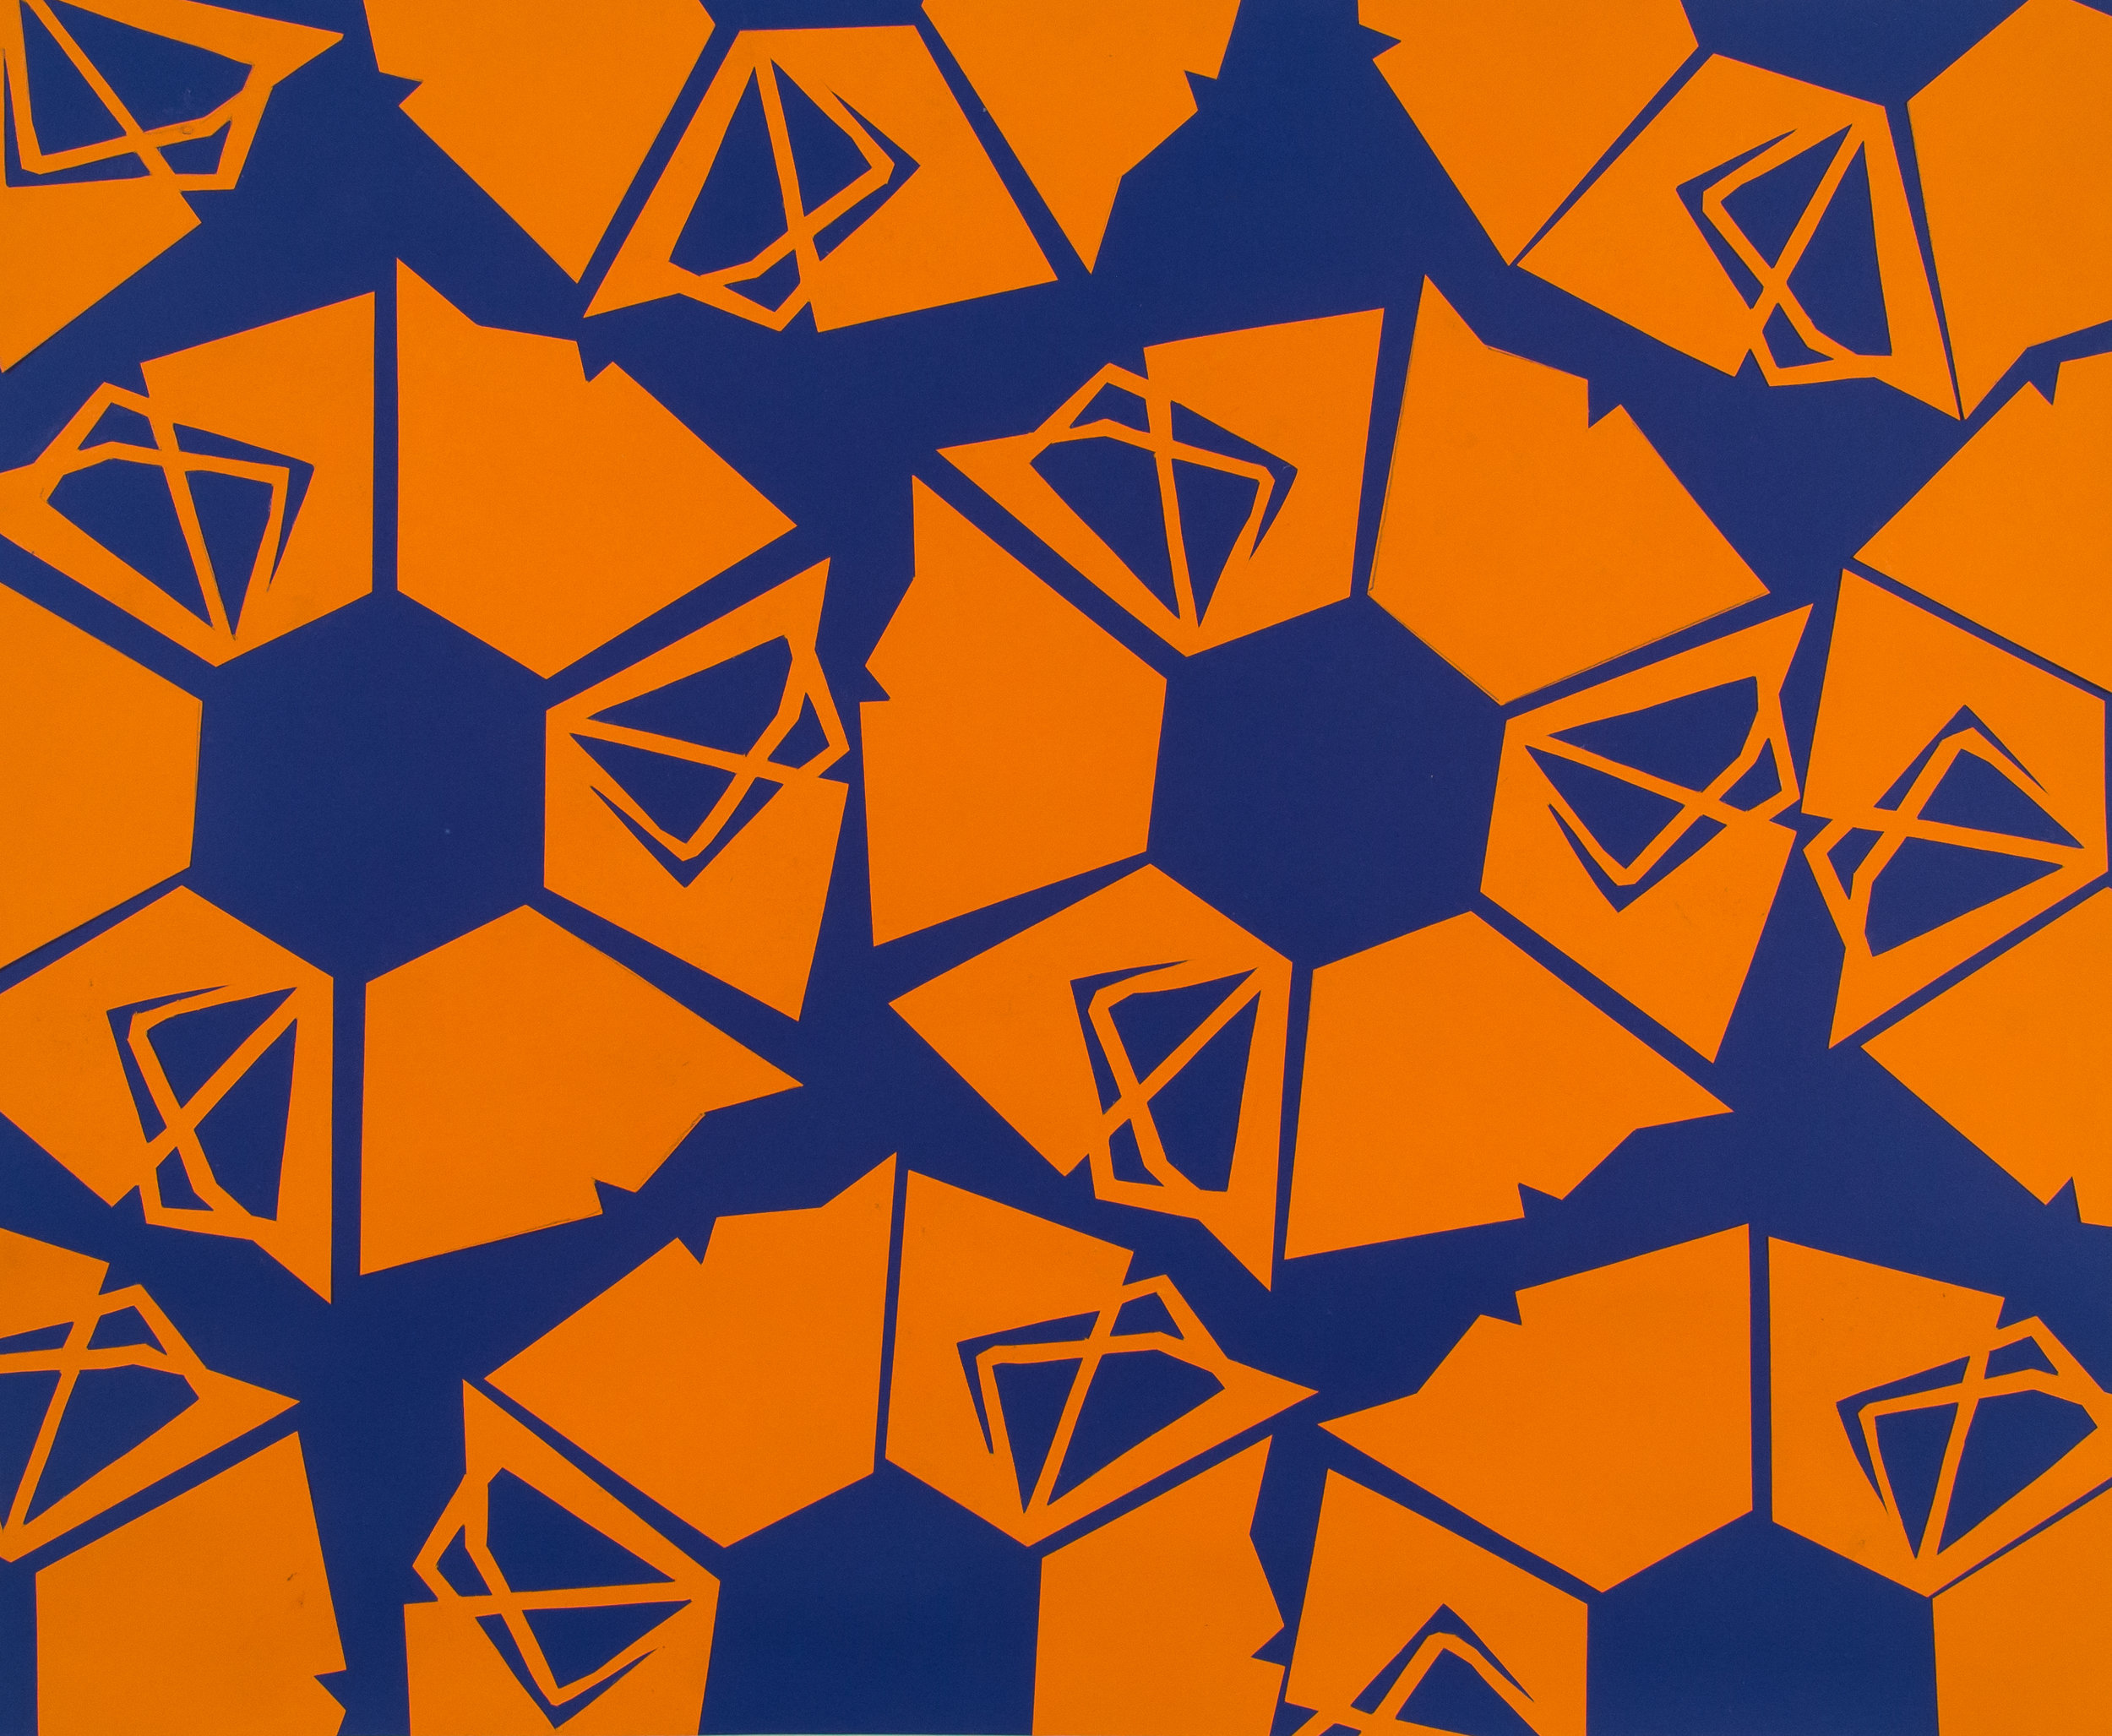
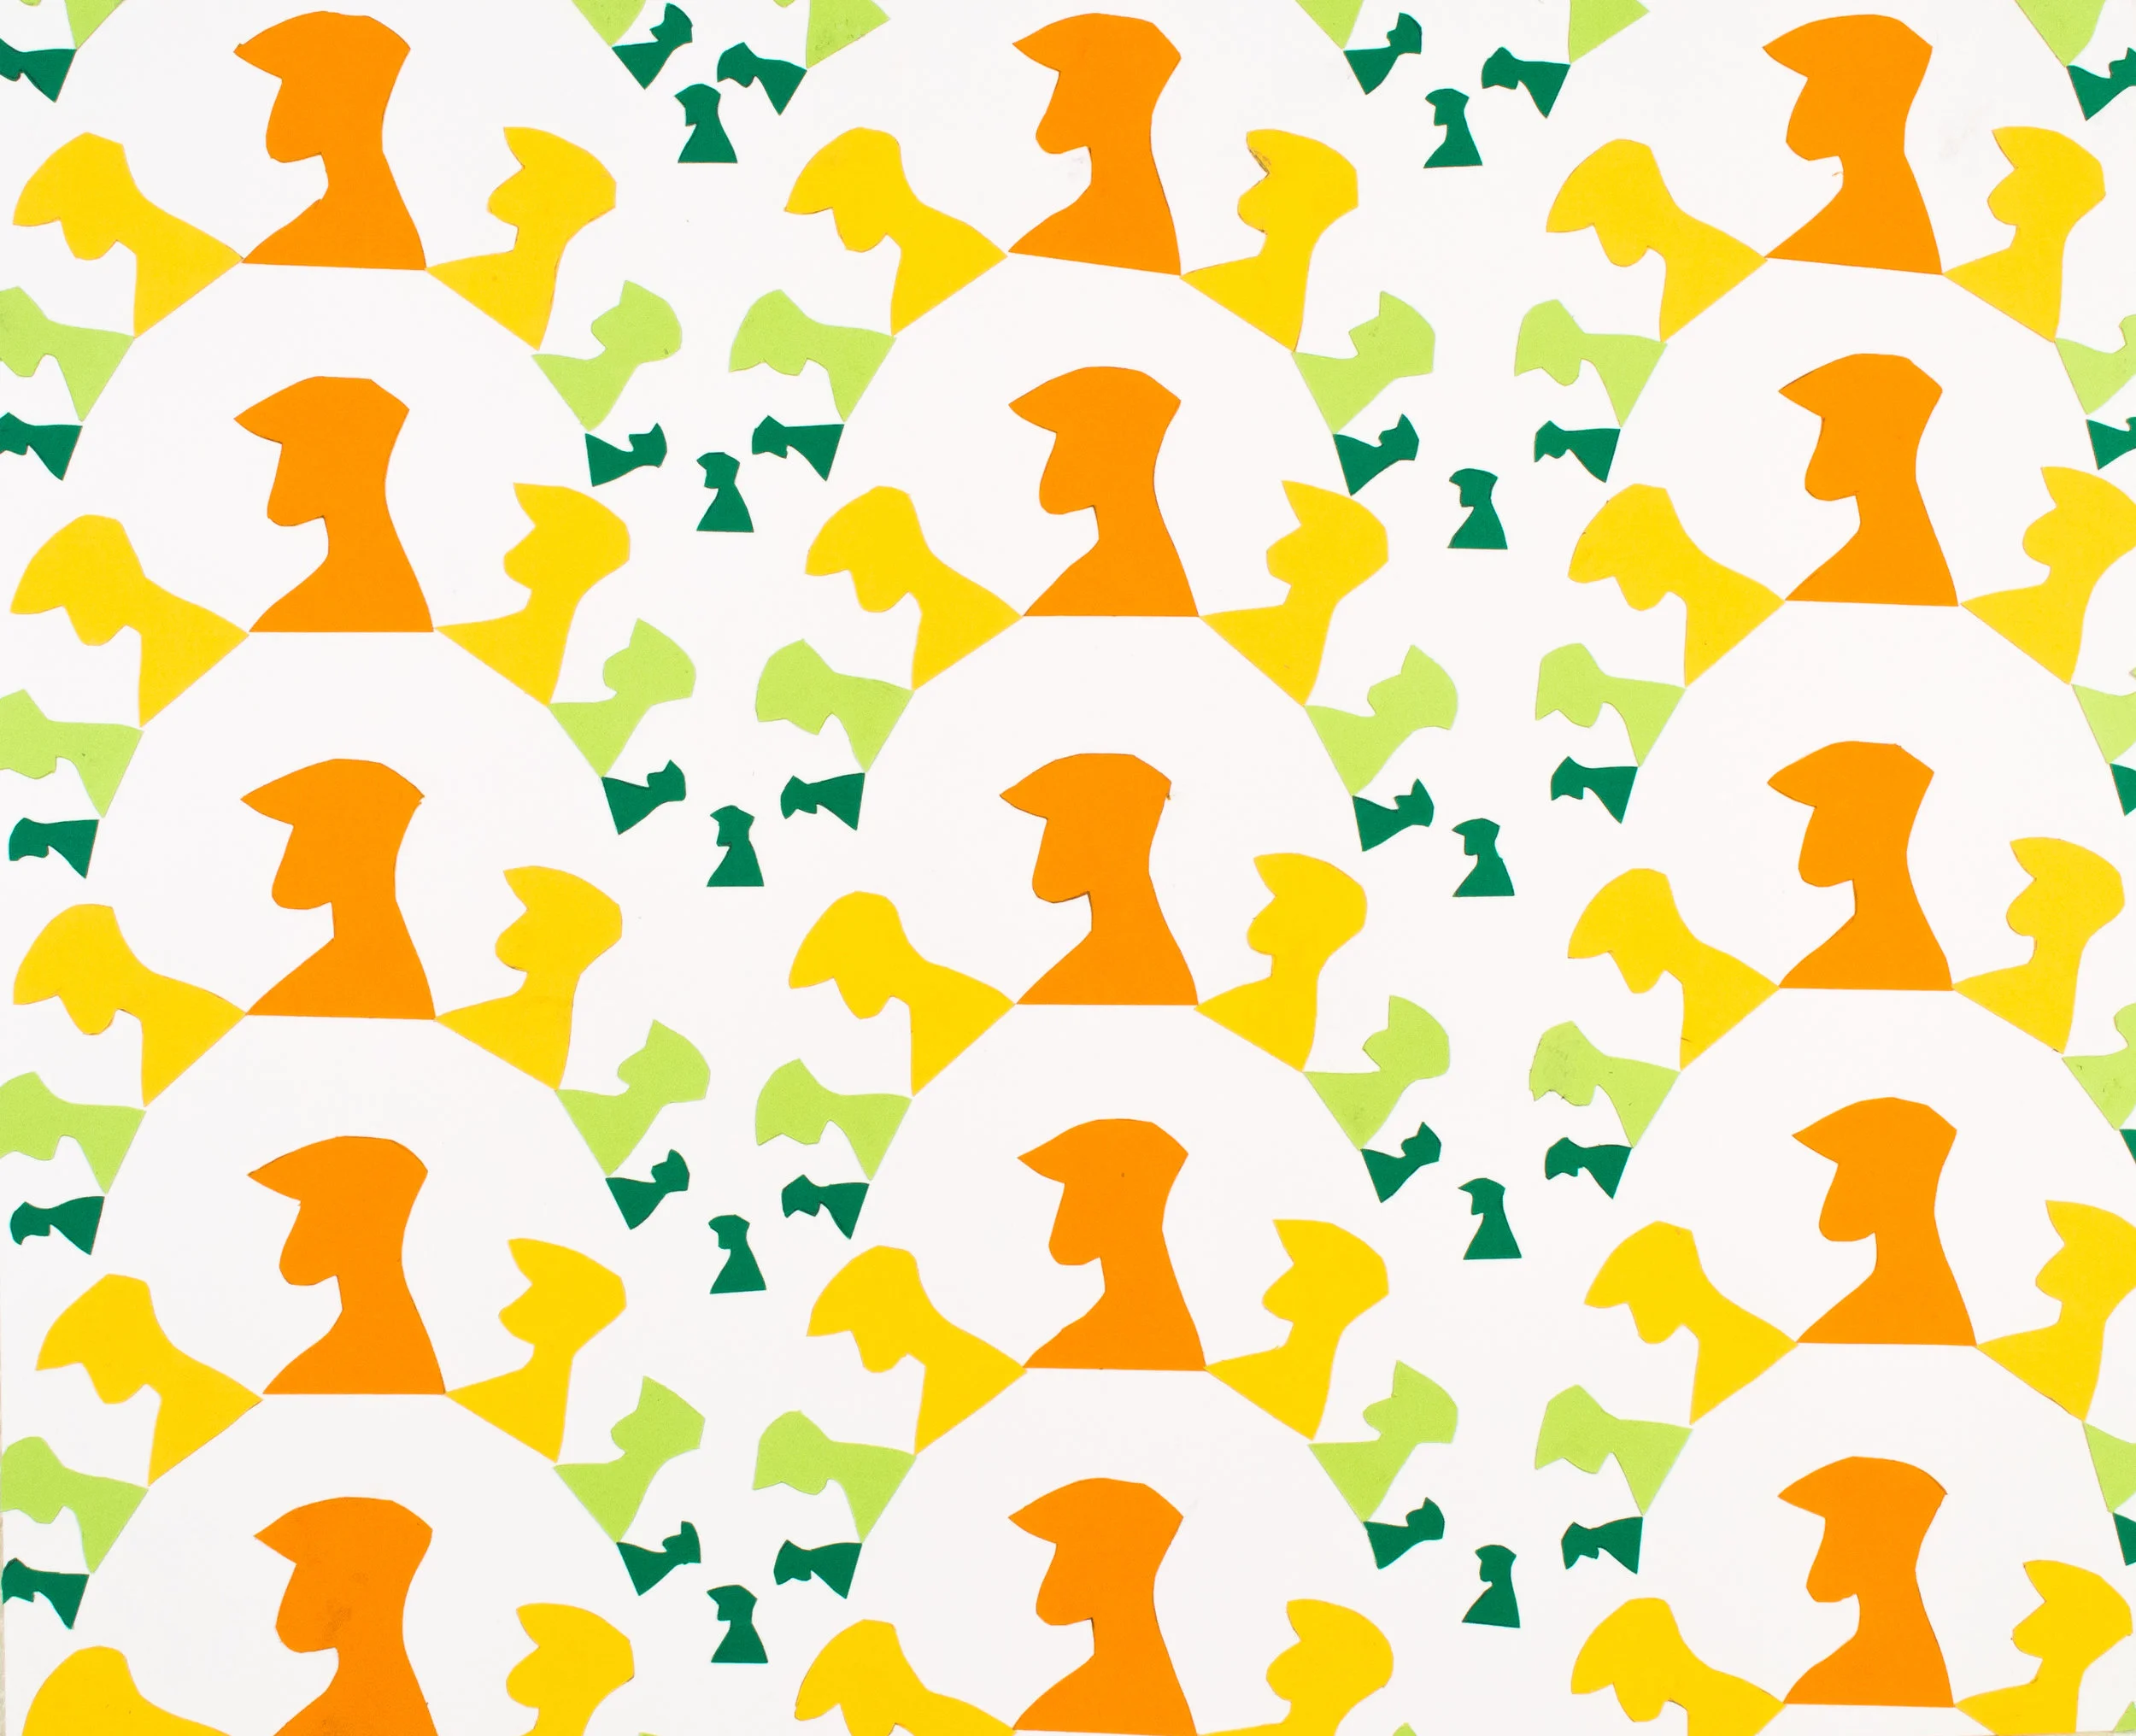
the initial of images show the use of pattern, shape, and color. there were two sets of patterns that the students had to use. one was scale -create a shape then scale it down. the other was to overlap two shapes and then show the new shape looks filled in and then also subtract from where the same shapes overlap. this second method was to show show the use of positive and negative space within the shape itself and how it affects the design. for each set of patterns, the students had a to select a color scheme and appropriately incorporate it into their design (i.e complementary, split complimentary, analogous, or monochromatic).
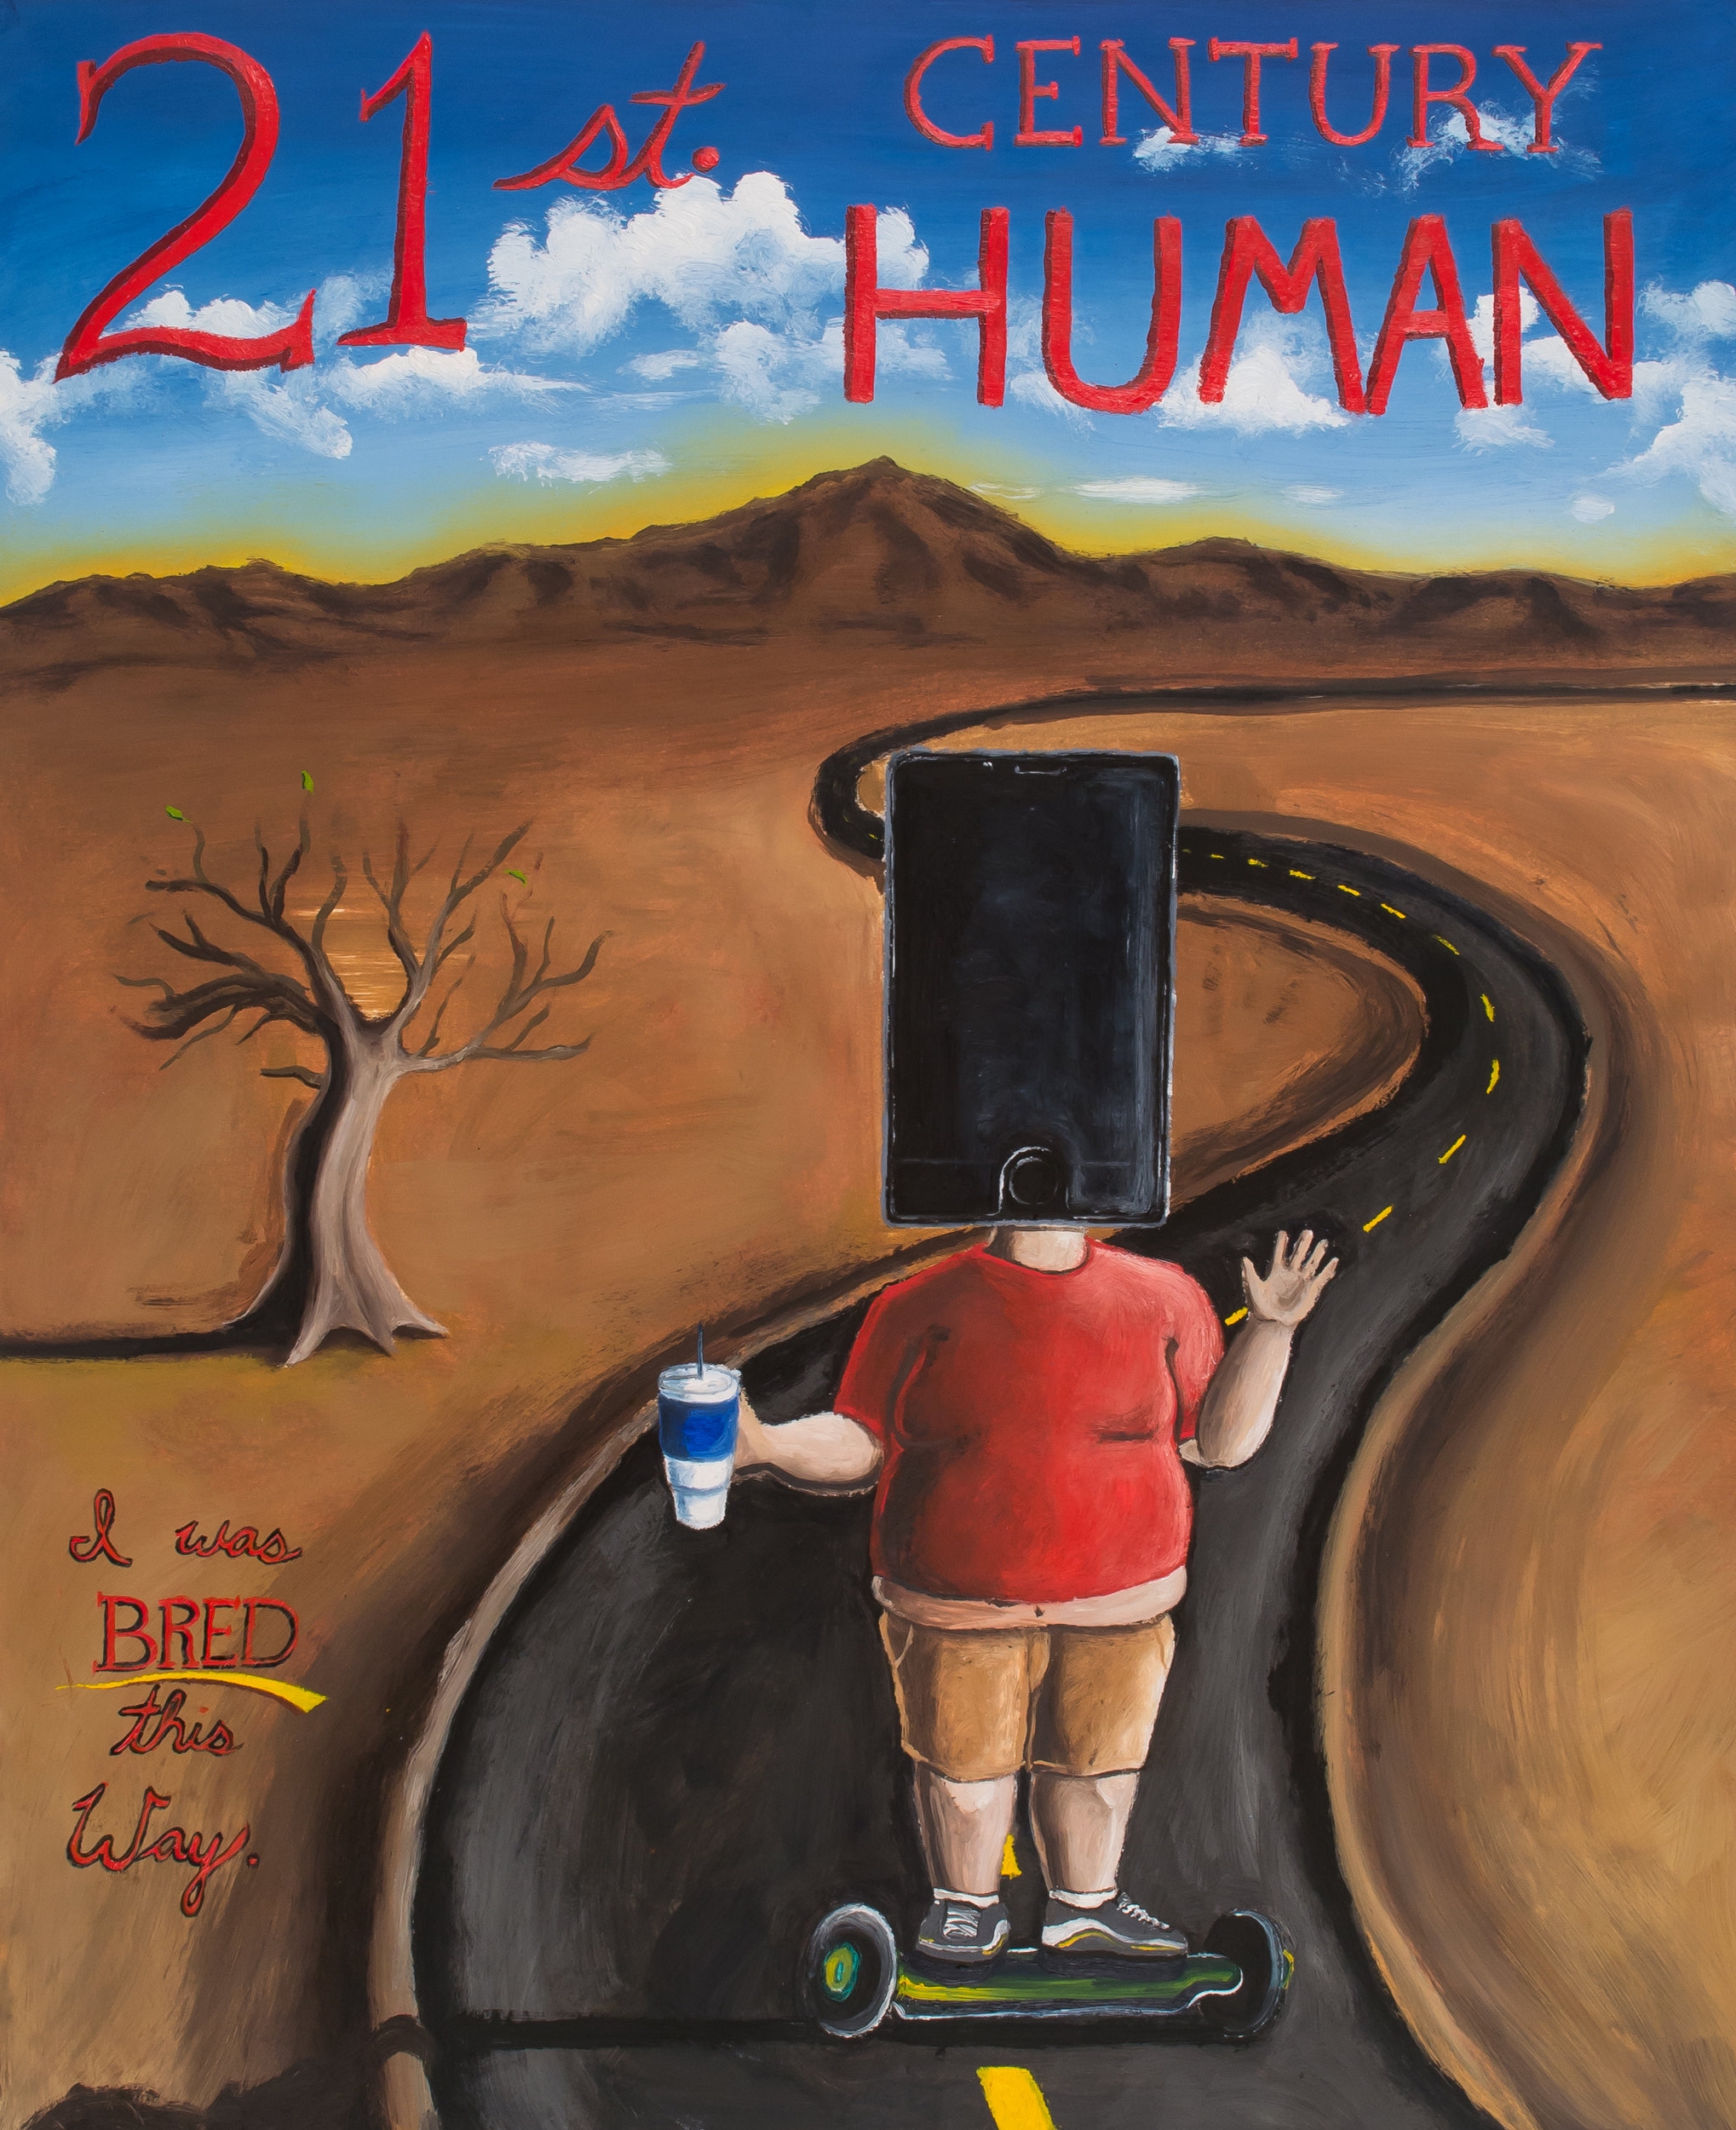
the other series set of images show student's interpretation of protest/propaganda. this project was intended for students to think more conceptually in their processes as well as working on having a 'voice' and effectively communicating an idea with their audience. students were allowed to choose their topics; which often were topics they were passionate about.
the last series of images were actually their first assignment. this project used frottage (direct rubbings on objects) to create and use texture as part of the drawing. the textures used could either emulate the object they were being made from or suggest something else. The students also had to use value (light to dark values) in the 'drawing' to help suggest a three-dimensional image (and to better separate the various textures).


3d design
the first two images are of the found object outfits. these outfits were created using only found objects/materials. students were not allowed to purchase any materials other than adhesives or paint.
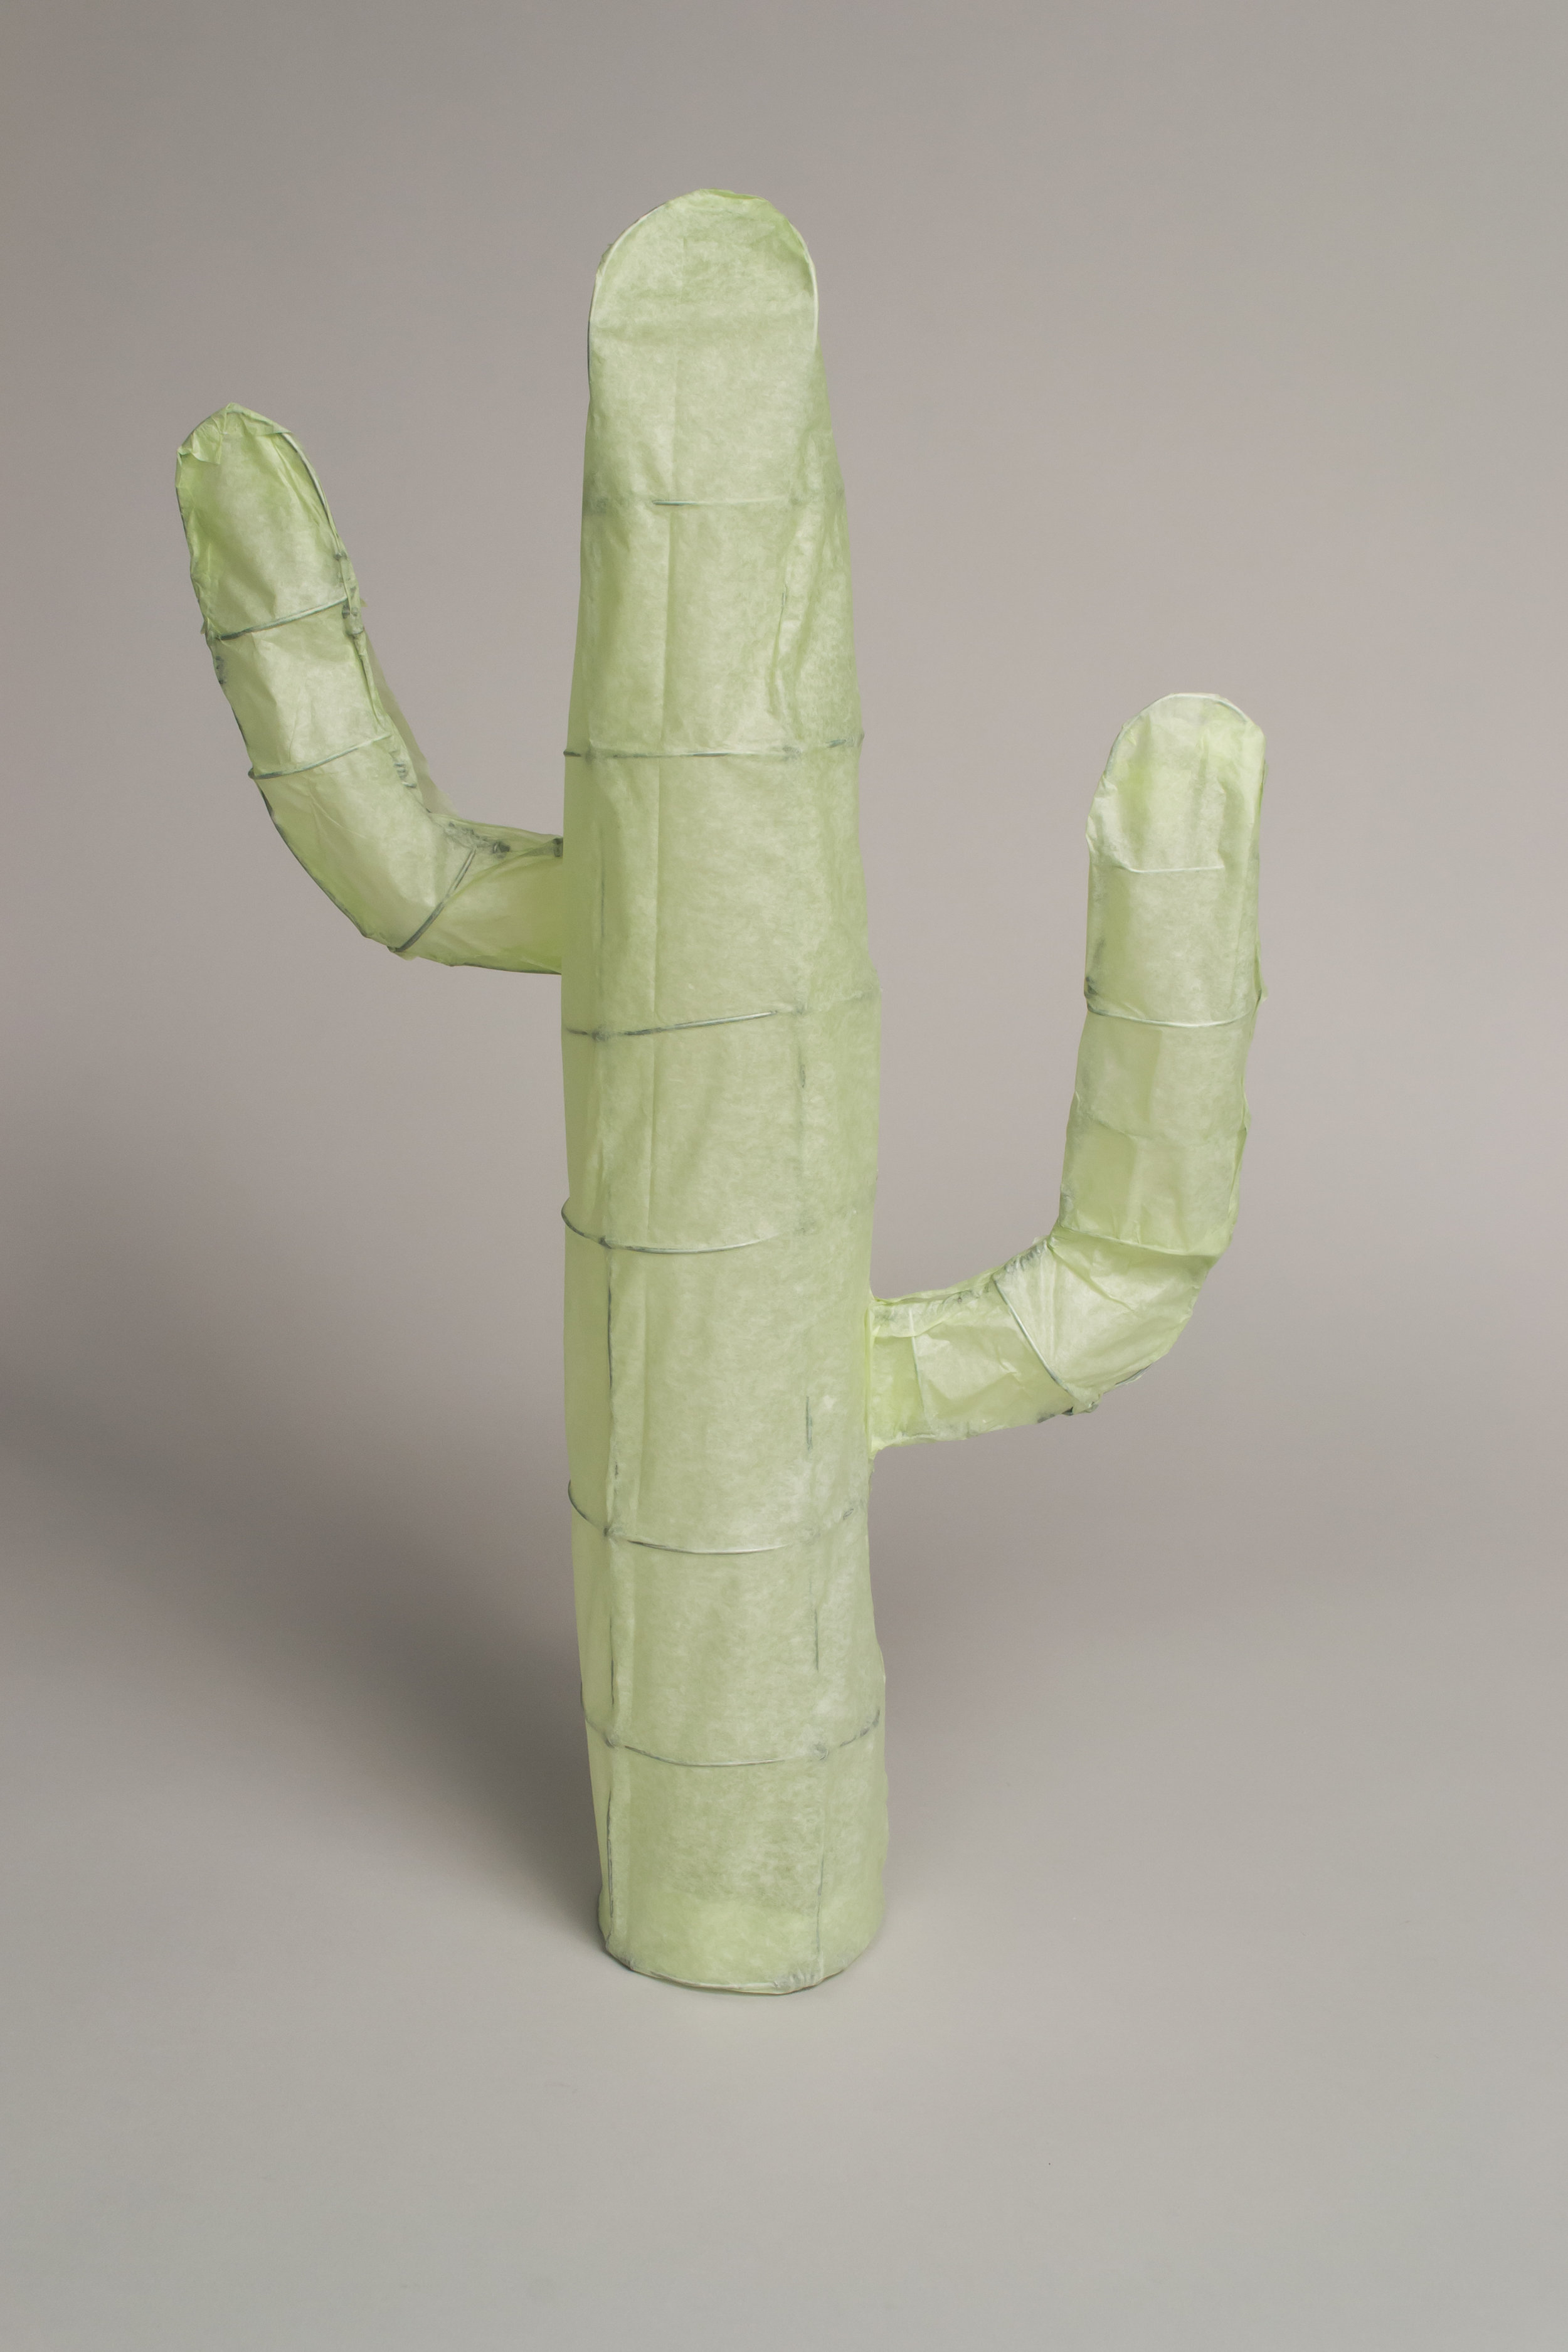
other images include interior forms in which students were to create the form or skeleton with wire. then, upon the arrangement of the wire, the students were to put a skin on top. this was to show how structures underneath influence the outer 'shell'. most of these were covered in tissue paper (unfortunately no one used hog gut this semester, which has an skin-like appearance).
the following images show how students used plasticine to portray textures. they also used additive and subtractive manipulation of the materials to help build their form. if you are not familiar with plasticine, it is an 'oil clay' that doesn't dry out. this will help allow the students to continually work on their project without worrying about keeping the clay moist or it cracking while drying.
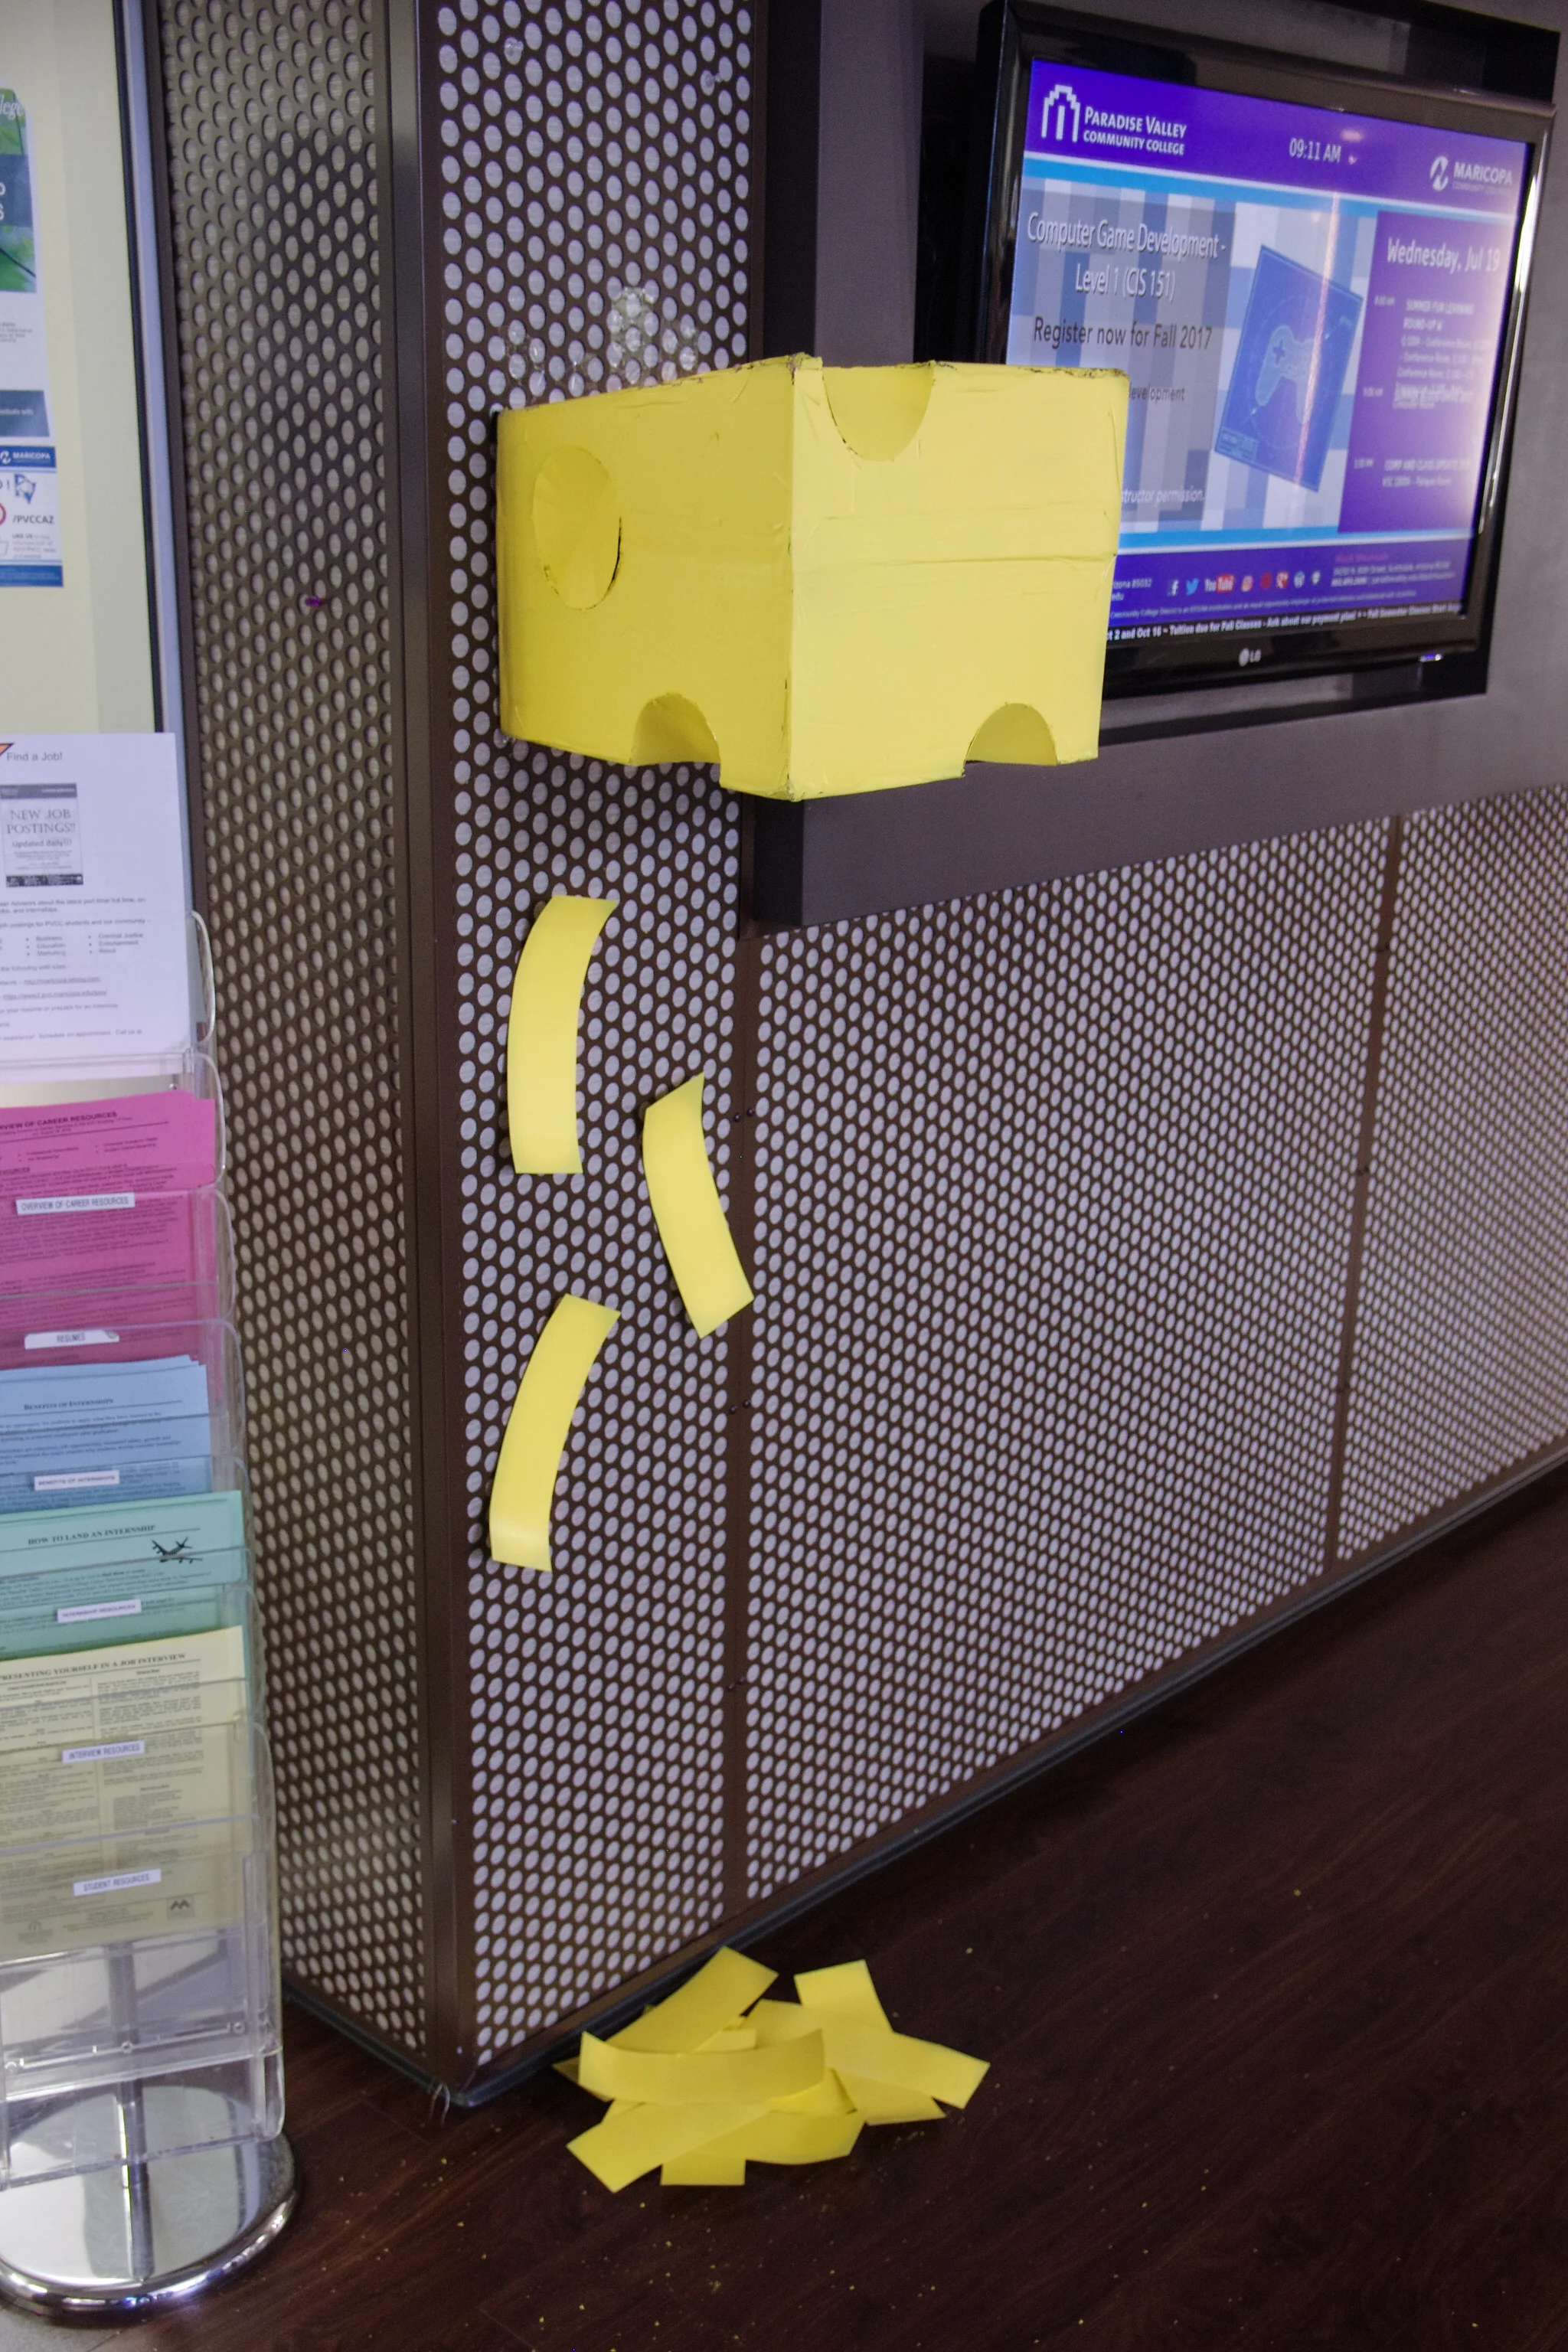
the last set of images are of site specific projects. These were intended to introduce conceptual thinking and intent within the art making process. students were able to choose to use any materials to create their project. the location had to be on campus to allow for interaction (either physically or visually).


mobile device users will notice that when you select a photo, there is a tiny white dot to the lower right of the screen. when you click on the dot the description will pop up. you can continue to swipe between the photos with the description. if you want to disable the description just touch the dot again.
permission was given by the students to photograph and share these images.