I’ve been upgrading my screen printing exposure unit to a larger size. This is the dimensional prototype to see if it is mobile enough for one person to fit into a car.
Read Morescreen printing on the manual press /
one of the perks of my current job is being able to have access to equipment that i usually don’t. the video below is of me (in pink) showing one of the graduate students at asu how to use the manual press for screen printing. as you can see, the screen is very large: too large in fact that it is impossible for someone to print alone without assistance.
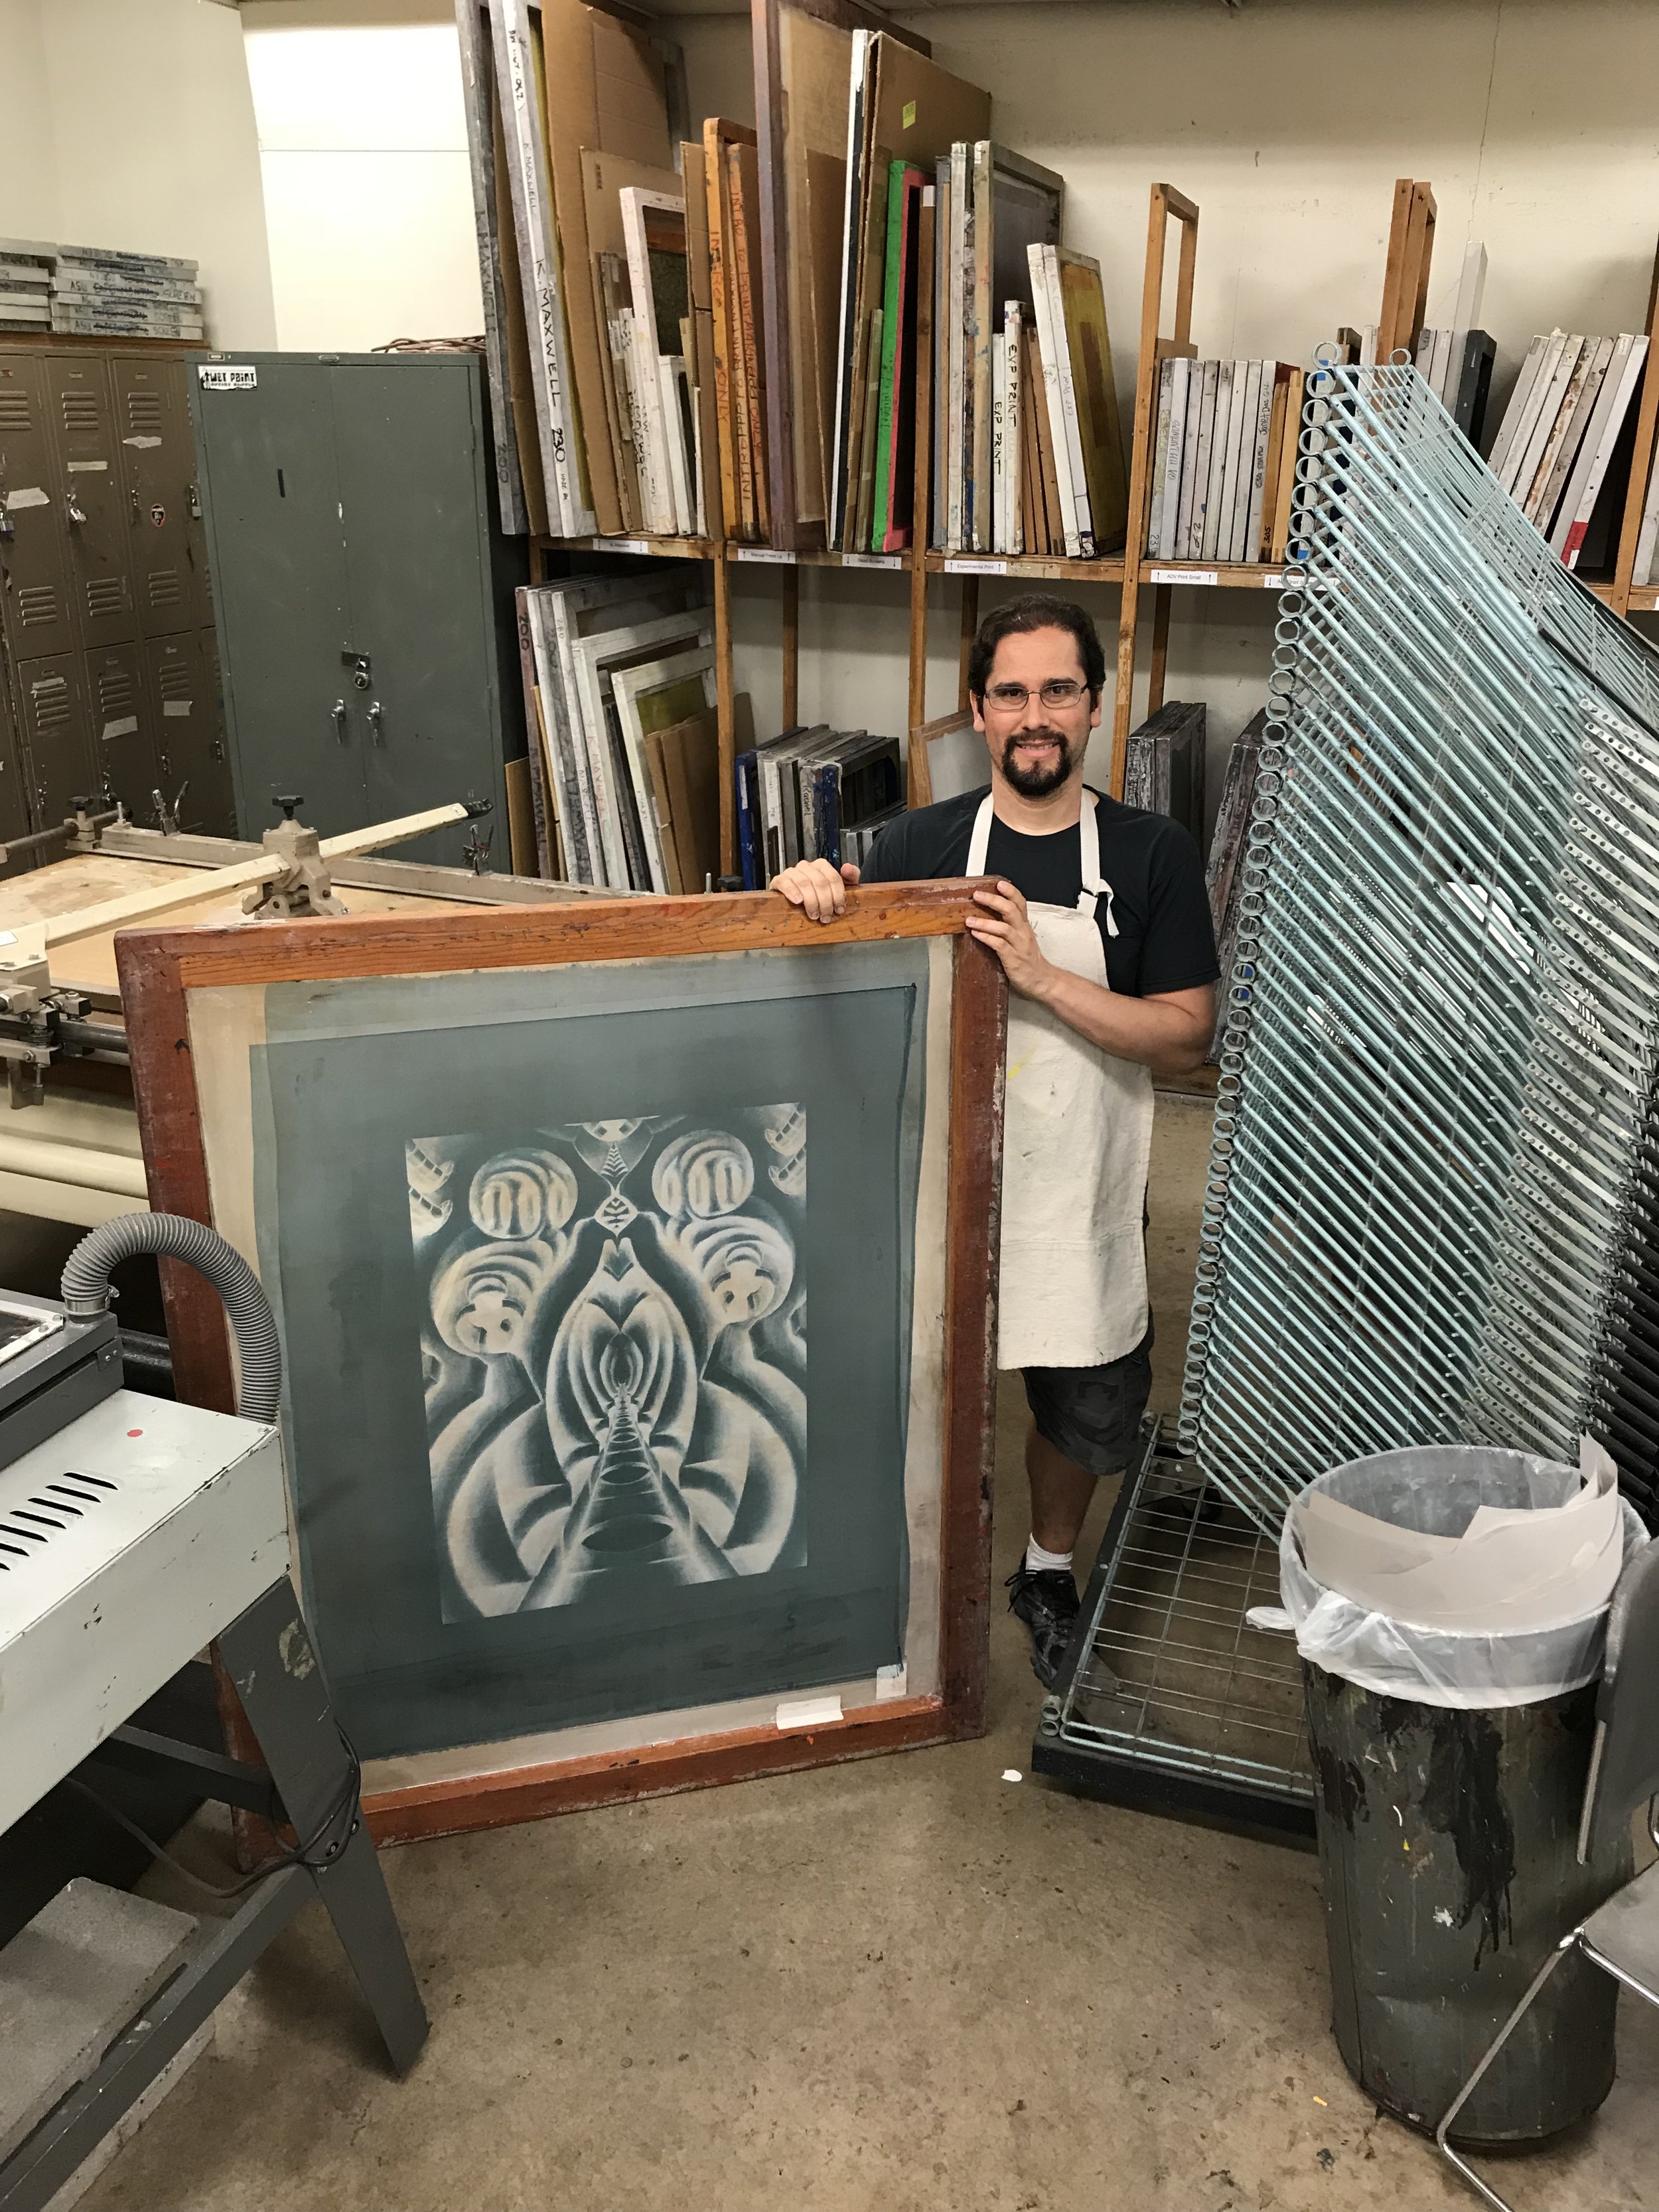
an example of the size of the screen being used
the prints are full size sheets of paper (22 x 30 inch). the image is a single color and will be trimmed and tiled on the wall of the gallery for his thesis. this is about the third design of his that we’ve printed so far.
since it’s only a single color print, we are using painter’s tape along a long edge and two corners. this is more for placement since he’ll be trimming off the borders later on. if you are using paper with squared edges, you can use 90º corners or the plastic “fingers”. you can also use the pin and tab system with paper that has deckled or torn edges. towards the end of the video you can see Carlos laying out the prints to see how he wants to use if for his layout.
the printed image is a bitmap of one of carlos' drawings. first the drawing was scanned on a large format scanner. then using adobe photoshop we did some adjusting with a curves layer to bring out the mid-tones followed by some cleaning up of artifacts. next, the image was divided into quarters, then copied and pasted to allow the image to align edge to edge when being tiled (after being printed). the image was turned into a bitmap and then printed onto a large film and exposed to the screen.


the manual press is not limited to single color prints. this can be done with a separate screen for each color. something that helps with printing two colors is to use an alignment system to expose the image to the screen in the same spot (or pretty close) as the previous image. a registration system such as crosshairs on the film also helps with alignment of multiple colors (whether spot colors or cmyk).
to top it off, this manual press has micro adjusters on the sides of the unit to move the vacuum table on an x-y axis. you can see me start to do this around 21 seconds into the video: it looks like i’m reaching under the table. each twist of the knob will move the table so very slightly to the left/right or forwards/backwards. it’s such a time saver when setting up a large print and is great for having a tight registration between colors. maybe later on, if i have time, i'll post something more about the micro adjustors.


mobile device users will notice that when you select a photo, there is a tiny white dot to the lower right of the screen. when you click on the dot the description will pop up. you can continue to swipe between the photos with the description. if you want to disable the description just touch the dot again.
a photo/video release has been signed by all individuals seen in this video.
summer 2d & 3d design photos /
The summer session has concluded: it all went by so fast. at the end of the semester, i worked with students photographing some of their projects. here's a selection of some of those projects.
Read More